How to build a Javascript Countdown timer in 5 minutes
At some point in life, you are going to need to build a countdown timer. Here's how to build one with just few lines of JavaScript.

I'm a front-end developer and specialize in building accessible web and mobile interfaces with technologies like HTML5, CSS3, and ReactJS.
Yaayyyy!!!
This is my first Hashnode article and I'll be explaining how I built a Javascript countdown timer in a little to 5 minutes with just a few lines of Javascript code.
Countdown timers have been an increasing aspect of our digital life and we have grown to see them almost in a variety of places. They create a special kind of curiosity and anticipation and just won't go away until the clock hits 00:00.
As a developer, you might need to build a countdown clock with vanilla Javascript maybe for; an event, a sale, a promotion, or even a game. While there are many great plugins and no-code support for doing this, using raw Javascript offers lots of benefits which include:
More control over features and flexibility
Fast website optimization and performance with no need to load external scripts.
Lightweight code and no dependencies
The possibilities are somewhat limitless and also, and you totally need little to no prior Javascript experience to get started with this.
So, are you in for a ride?
Here's how to create your first countdown clock with vanilla Javascript in exactly 5 minutes.
FIRST STEPS:
We would need to define the features and steps for our timer to follow and also possibly create an algorithm too. Not your regular buzzy words, but --
"A programming algorithm is a procedure or formula used for solving a problem." So basically, we need to define the steps and procedure to build our countdown timer.
Here are our steps to building our timer:
Set a hardcode value for our end date
Calculate the remaining time from today
Convert the time to a reusable Javascript object
Output the clock data as a reusable object
Display the countdown and stop the clock when it reaches zero
PS: We assume to have an HTML page ready with some bunch of divs as this article focuses only on the Javascript functionality. To get one ready, you can use this sample HTML Code.
Set a valid end date
This is very important as it gives our application an idea of what date to start counting down.
To do this, we use any of the supported ISO 8601 formats.
Let's say we are counting down from 15th June 2022, the format could take any of these...
const countDown = '2022-06-15'
OR
const countDown = '15/06/2022'
OR
const countDown = 'June 15 2022'
These formats allow us to specify a date in any of the supported ISO formats. We also have a window to specify a time zone too.
Calculate the remaining time from today
Next, we need to have a function in place to calculate the remaining time from the current date. June 15th, 2022 would be 30 days from today, but Javascript won't do much with this info yet.
We have to tell Javascript to our predefined end date (as above), calculate the difference between that time and today's date, and return the result.
Here's what our function should look like:
function getCountdown (timer) {

 const timeLeft = Date.parse(timer) - Date.parse(new Date())
 const days = Math.floor(timeLeft / (1000 * 60 * 60 * 24))
 const hours = Math.floor((timeLeft / (1000 * 60 * 60)) % 24)
 const minutes = Math.floor((timeLeft / 1000 / 60) % 60)
 const seconds = Math.floor((timeLeft / 1000) % 60)

 // return the variables as objects
 return {
 timeLeft,
 days,
 hours,
 minutes,
 seconds
 }
}
Here's what is happening in the code above:
First, we calculate the time difference between the end date and our current date and store the value in a variable named which we named - timeLeft.
const timeLeft = Date.parse(timer) - Date.parse(new Date())
The Date.parse() function helps us to convert a time string into a value in milliseconds allowing us to subtract two times from each other and get the amount of time in between.
Convert the time to a reusable Javascript object
Next on our algorithm queue is to convert the result from the Date.parse() function into a set of reusable days, hours, minutes, and seconds objects.
PS: 1 second = 1000 milliseconds
To do that. we pass the Math.floor() function which helps us return the nearest whole number after the division of the timeLeft and its conversion in milliseconds.
Here's how to calculate for seconds...
COPY
const seconds = Math.floor((timeLeft / 1000) % 60)
This is a breakdown of what is happening in the code:
First, we divide the milliseconds(timeLeft) by 1000 to convert them to seconds(timeLeft/1000)
Next, we divide the result of the first process by 60 and grab the remainder using the modulus(t/1000) % 60)
Since we don't want fractions and decimals of seconds in our result(which is unrealistic), we use Math.floor() to round this down to the nearest whole number after the conversion.
The same logic applies when converting the milliseconds to minutes, hours, and days. We only have to multiply by 60 through a loop process, grab a remainder and also use the Math.floor() function to get the nearest largest integer.
Output the clock data as a reusable object
The result of our conversion for days, hours, minutes, and seconds passed from the Date.parse() function has been stored in different variables each with a different variable name. We now have to return them as reusable objects in our code.
return {
 timeLeft,
 days,
 hours,
 minutes,
 seconds
}
The return statement helps us specify which of the data we want to return from wherever our function getCountdown is been called.
So, let's say we want to get the remaining hours, we'd do this
getCountdown(endtime).hours
Easy-peasy right?
###Display the countdown and stop the clock when it reaches zero One phase of our countdown timer is done, now we would have to output the result and also stop the process hits the deadline.
Remember our sample HTML Code shared above? Yeah, you would need it now to manipulate the DOM and target the right elements.
In case you're thinking:
The Document Object Model (DOM) is a programming API for HTML and XML documents. It defines the logical structure of documents and the way a document is accessed and manipulated.
Another thing to take note of is this...
setInterval() method will call a function at specified intervals (in milliseconds).
setInterval() method continues calling the function until clearInterval() is called, or the window is closed.
Moving on, we have to write a second function other than the first getCountdown. This new function would have to query the DOM and output the clock data(days, hours, minutes, and seconds) inside our newly selected DOM elements and would look like this:
function clockStart(id, endtime) {
  const timer = document.getElementById(id)
  const days = timer.querySelector('.days')
  const hours = timer.querySelector('.hours')
  const minutes = timer.querySelector('.minutes')
  const seconds = timer.querySelector('.seconds')

function updateClock() {
    const timeRemaining = getCountDown(endtime)

    days.innerHTML = timeRemaining.days
    hours.innerHTML = ('0' + timeRemaining.hours).slice(-2)
    minutes.innerHTML = ('0' + timeRemaining.minutes).slice(-2)
    seconds.innerHTML = ('0' + timeRemaining.seconds).slice(-2)

    if (timer.total <= 0) {
      clearInterval(timeinterval)
    }
  }

  updateClock()
  const timeinterval = setInterval(updateClock, 1000)
}
Here's what is happening in the code above:
We initialize the function clockStart which takes two parameters(id and endtime). The id stands for the HTML element that would display our clock while the endtime represents the countdown end time.
Inside the function we also declared five different variables to store a reference to our clock container elements for the days, hours, minutes, and seconds left. This allows us to easily reference them and not have to keep querying the DOM each time.
We have another nested function(function inside another function) that calls the getCountdown function on the endtime parameter and returns the time remaining for each of our target elements.
Next, we have the setInterval method in place to execute an anonymous function after every second. It calculates the remaining time, outputs the remaining time to our selected DOM elements, and if the deadline is up(gets to zero), stops the clock.
We also initiate a clearInteval method anytime the setInterval is less than or equal to 0. ie our deadline has been met.
All looking good, to initiate our clock we simply have to do this:
clockStart('timer-format', countdown)
You see, that didn't take long 🙂
Conclusion
Hurray!!! You just built your first countdown timer with vanilla Javascript in 5 minutes. If you managed to do this in less than 5mins, you're the real deal.
If you indeed aced this, your countdown app should look like this:
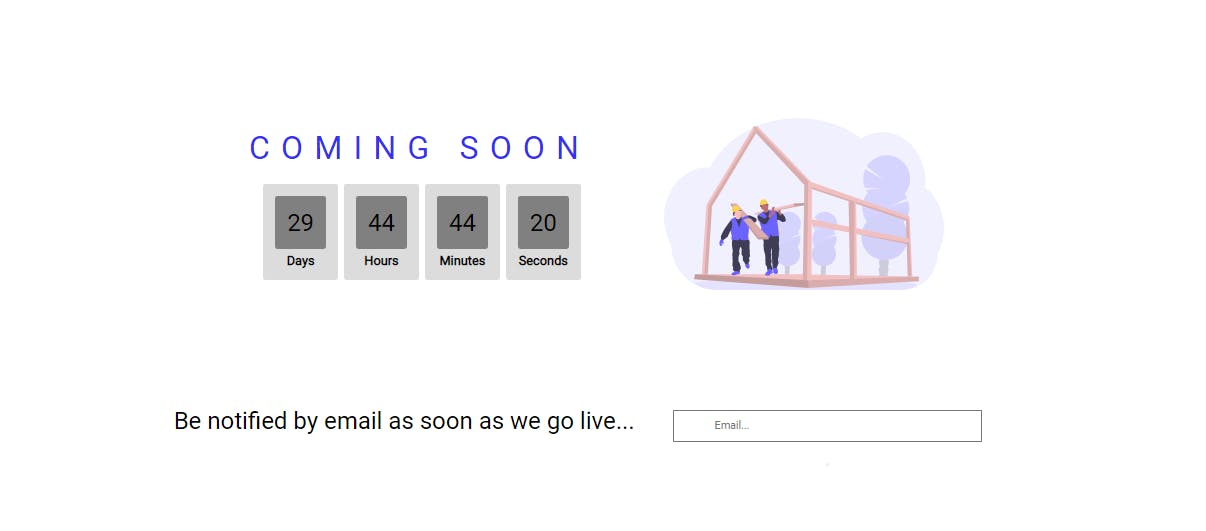
I understand the details might seem like a lot but it was intentional to help make each process in the building of the countdown timer clearer.
However, one thing to point out about Javascript timers is, that the dates and times are usually gotten from the user’s computer. That means would get a different result if they were to have a different time running on their PC or mobile.
In most cases, this would be insignificant but getting the data from something like a server might be a better fit in case of something super sensitive.
Using PHP or Ajax are alternative ways to do this, and follow exactly the same pact once you have your data from a cloud server, but, both are entirely beyond the scope of this tutorial.
So, in conclusion, that was our Javascript timer in 5 minutes. Give it a try yourself with this article but if you would love to see the completed project, it's right here on GitHub.
Disclaimer: This project was first seen as a design shot on dribble by Jonathan
Until next time...
Ciao!!!
